Garden Light LED × Casambi

Casambi Installer Resource Center

Learn how to plan, commission, program, and hand off Garden Light LED Casambi-controlled lighting systems with confidence.

First time using Casambi? Download the app: iPhone / iPad Android
No control wiring Bluetooth mesh RGBW + dedicated white Professional commissioning
The System at a Glance

Premium fixtures. Professional wireless control.

Garden Light LED combines American-built architectural and landscape lighting fixtures with Casambi's Bluetooth mesh platform for flexible local control, professional programming, scenes, schedules, groups, and advanced RGBW effects.

01

Bluetooth Mesh

Compatible Casambi devices communicate with nearby nodes, helping commands move through the lighting network without dedicated control wiring. For planning, use a conservative range of up to approximately 200 ft line of sight between compatible fixtures. Walls, metal, Low-E glass, and landscaping can reduce range.

02

Local App Control

Wi-Fi is not required for normal local control when the phone or tablet is within Bluetooth range of the Casambi network.

03

Scenes + Schedules

Organize luminaires into groups, create practical scenes, build animations, and schedule defined scenes to run automatically.

04

Remote Access

When remote control is required, add a compatible Casambi gateway with a reliable internet connection and dependable Bluetooth access to the network.

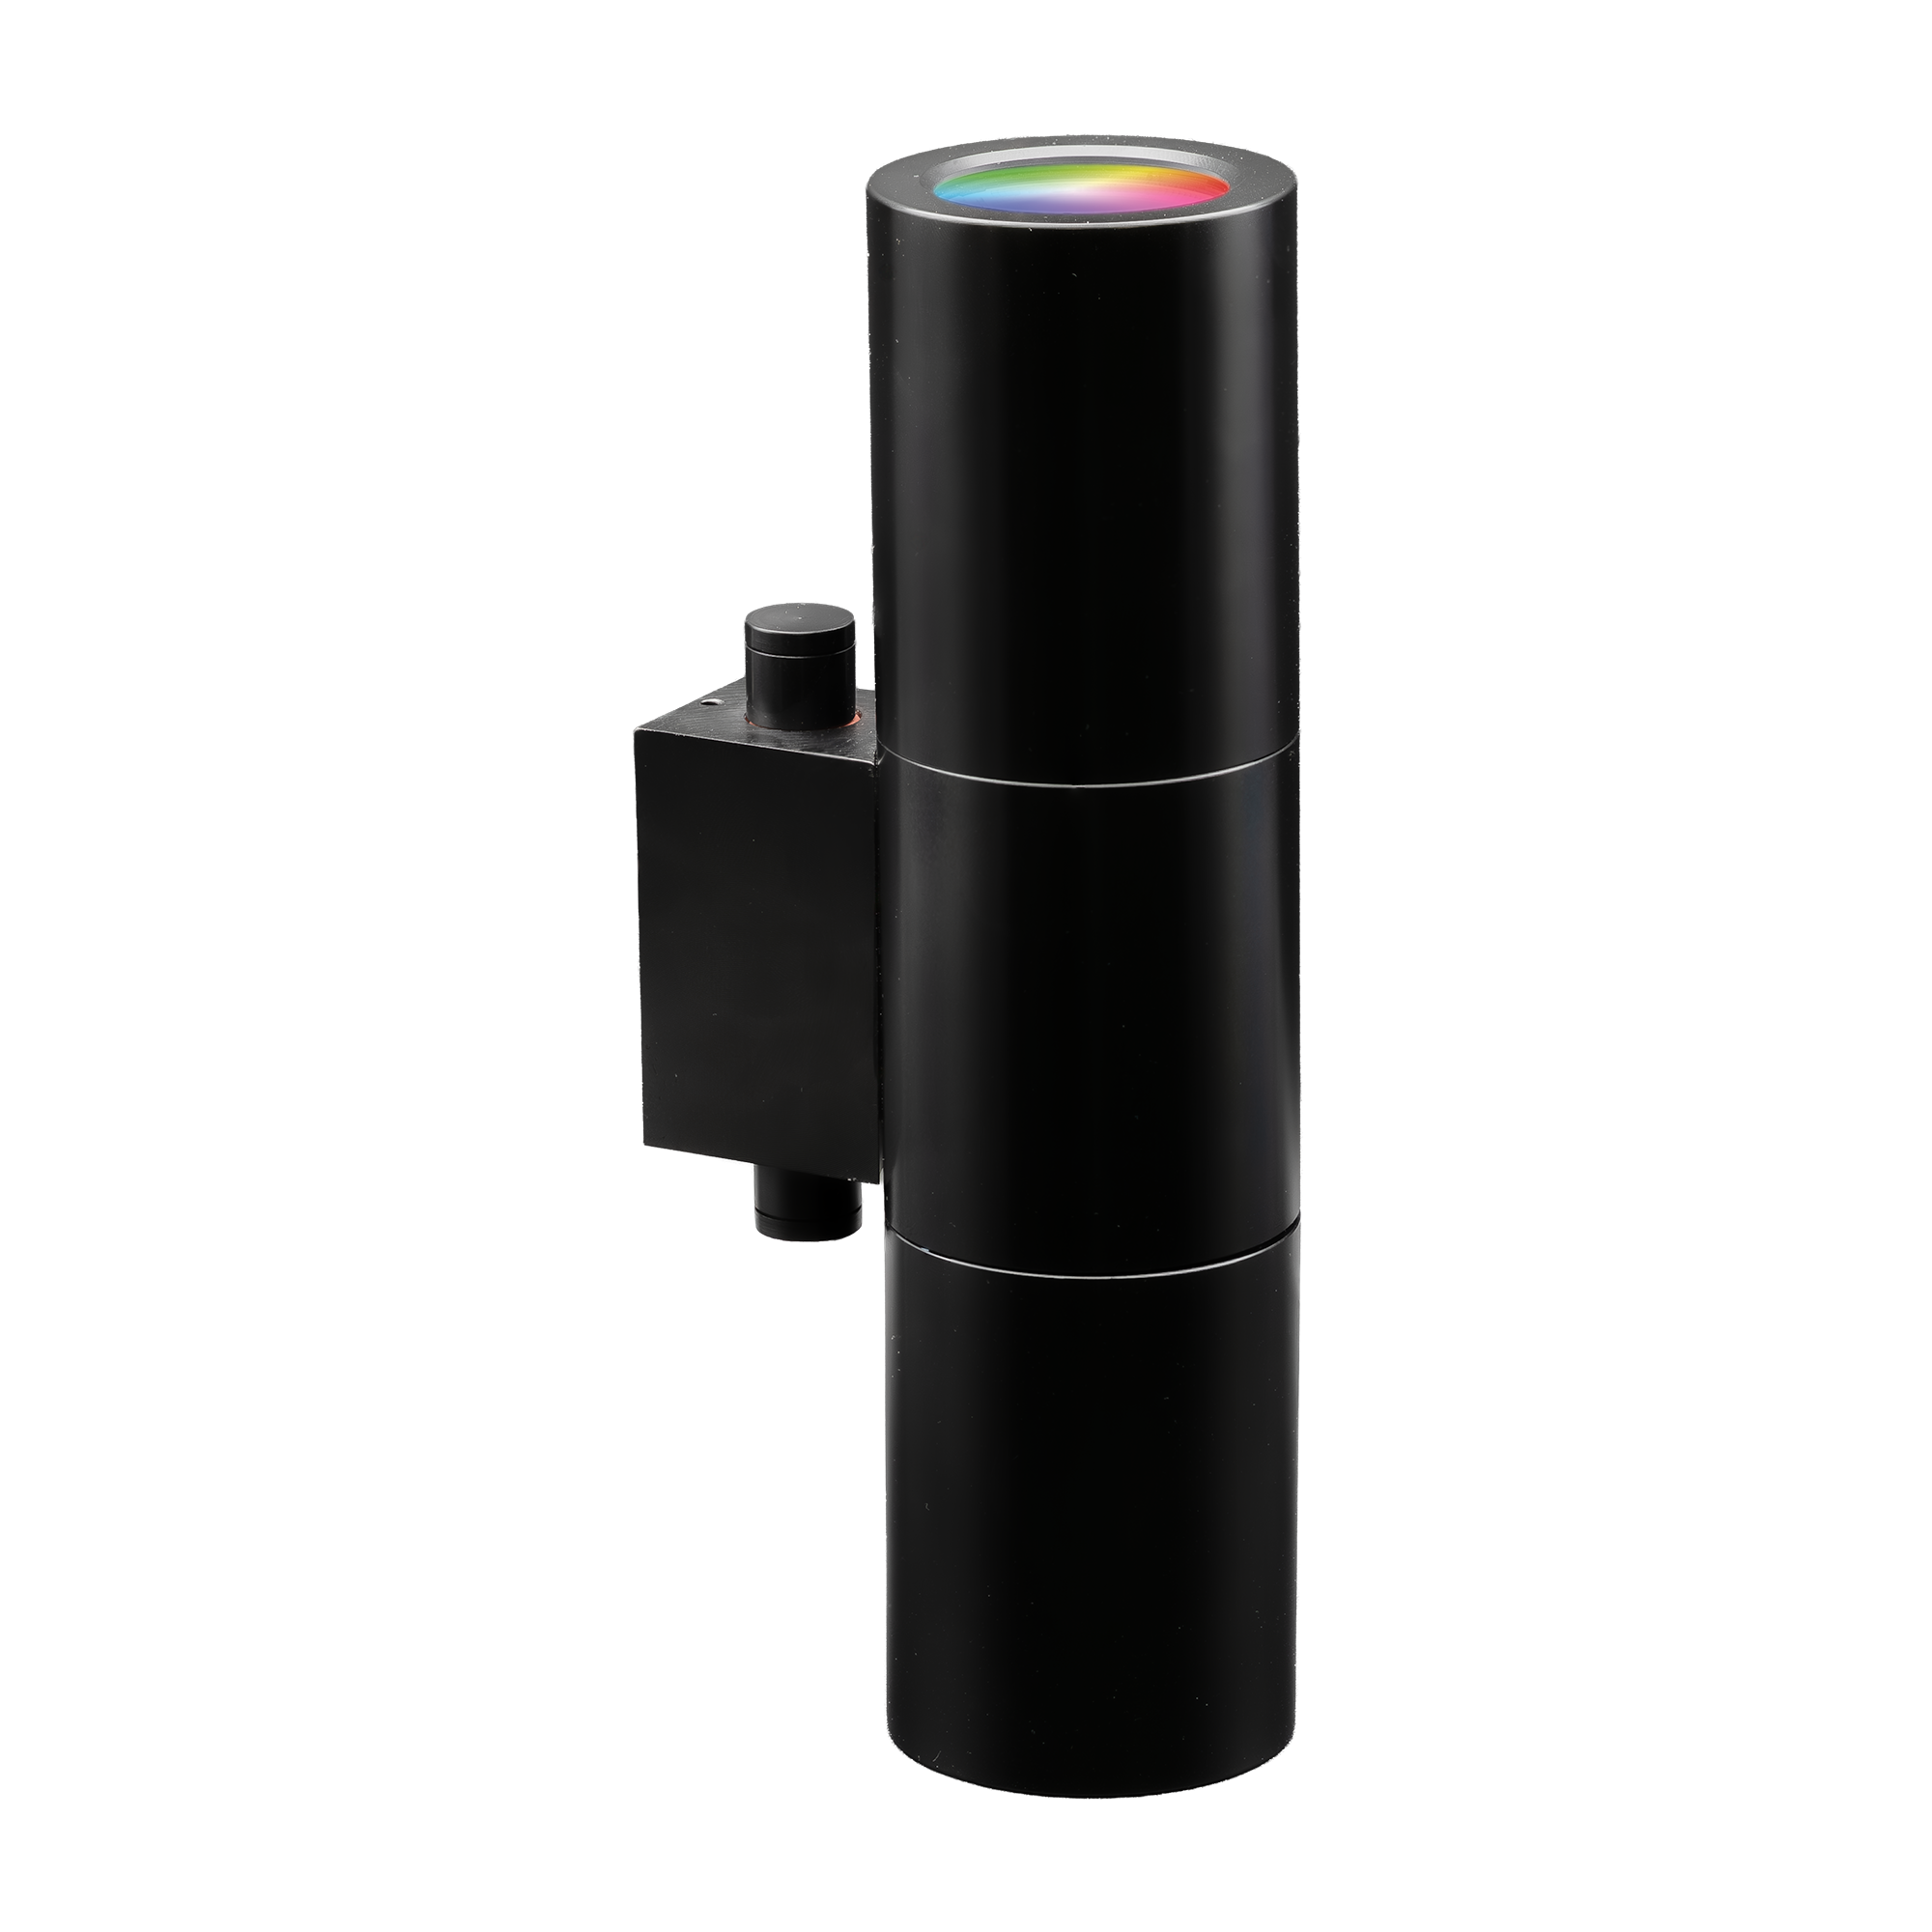
Garden Light LED Casa Color Casambi Controlled Sconce
Garden Light LED Casambi Fixtures

Designed for high-end outdoor environments.

Garden Light LED Casambi-controlled fixtures combine professional low-voltage construction with flexible wireless control for premium architectural and landscape lighting applications.

  • Low-voltage installation
  • Casambi app control
  • Individually addressable luminaires
  • RGBW with dedicated white where equipped
  • Scenes, groups, animations, and schedules
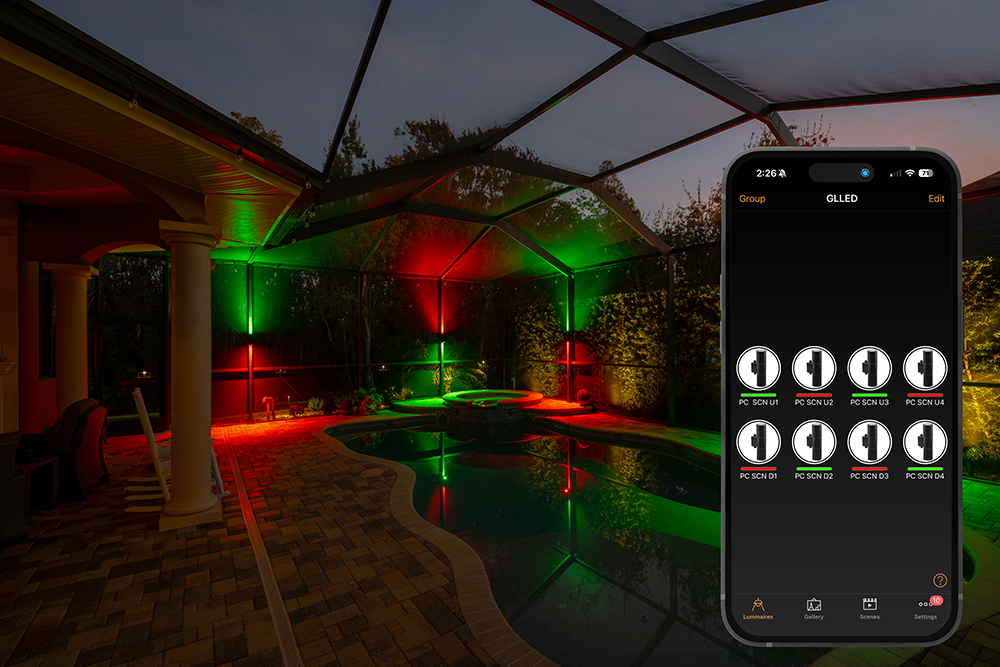
Casambi-controlled outdoor lighting system and mobile app
Before You Begin

Plan the network before you start programming.

A few minutes of planning saves a surprising amount of time later. Before commissioning the project, confirm the system is powered, decide who will own the network, and outline the names, groups, scenes, and schedules the client needs.

  • Download or update the Casambi app.
  • Enable Bluetooth and required app permissions.
  • Verify all fixtures are powered and operating correctly.
  • Confirm transformer loading and voltage before troubleshooting the app.
  • Determine the network owner and administrator access plan.
  • Plan logical fixture names by physical location.
  • Outline groups, everyday scenes, and client schedules.
  • Decide whether remote gateway access is required.
Recommended Installer Workflow

Set the system up right the first time.

Follow this order to keep naming, grouping, scenes, schedules, and client access clean from the beginning.

01

Create the network

Create a clearly named project network and select the Password Protected sharing mode.

Garden Light LED recommendation Create two administrator-level passwords: one for the installation company or service team and one for the homeowner. Store both passwords securely before leaving the project.
02

Find and identify each nearby device

Select the network you just created, then open the nearby device list and work through each luminaire one at a time.

Network Settings Nearby Devices Tap Luminaire Identify Device
Identify before naming Use Identify Device while standing near the fixture. Confirm the correct luminaire responds, then give it a descriptive location-based name.
03

Rename every luminaire

Use names that describe each fixture's physical location rather than only its product type. Clear, consistent names make grouping, scene creation, animations, troubleshooting, and future service much easier.

RECOMMENDED NAMES

Left Royal Palm
Right Royal Palm
Front Oak Left
Driveway Path 01
Driveway Path 02
Pergola Accent
Front Entry Sconce U1
Front Entry Sconce D1
Pool Cage Sconce U2
Pool Cage Sconce D2

AVOID

Luminaire 1
Spotlight
RGB Light
Path Light
New Device
Tree
Up Light
Down Light

Use names another technician can understand Choose physical locations that are easy to recognize, even years later. For up/down sconces, add the location and use U for the upper output and D for the downward output. Number sconces from left to right when that helps with scenes, patterns, or animations.

04

Set every luminaire to Startup: Last State

After all luminaires are added, set their startup behavior to Last State. If a timer, photocell, smart plug, or other device removes power, the fixtures will return to the color, scene, or animation they were using before power was lost.

Settings Network Settings Configure All Luminaires Startup Last State
05

Create groups before scenes

Organize fixtures into practical areas such as Front Yard, Rear Yard, Pool, Entry, Trees, Path Lights, Pergola, or Accent Lighting.

06

Create practical scenes first

Build everyday scenes before advanced color animations. Start with options such as Evening, Entertaining, Path Only, Security, Warm White, All On, and All Off.

07

Create schedules from saved scenes

Casambi schedules should activate defined scenes. Do not rely on an undefined last state when predictable operation matters.

08

Share, test, and document

Confirm the homeowner can access the network, activate scenes, and understand local versus remote control before the installation team leaves the property.

Video Training

Learn Casambi in the order you will use it.

Work through the videos in sequence, then use the installer workflow and tips on this page during commissioning.

Video 01

App Overview

Get familiar with the app interface, primary tabs, network controls, and general navigation.

Video 02

Using Casambi for the First Time

Learn the basic startup workflow before building and commissioning a customer network.

Video 03

Create a Casambi Network

Create the project network that will contain the client's fixtures, scenes, groups, schedules, and permissions.

Video 04

Share a Casambi Network

Provide access to homeowners, coworkers, project managers, and future service technicians.

Video 05

The Luminaires Tab

Control, rename, organize, and manage commissioned Garden Light LED Casambi luminaires.

Video 06

Create a Basic Scene

Save fixture brightness, color, and group states for repeatable everyday lighting looks.

Video 07

Create an Animation Scene

Build transitions, color changes, fades, and moving effects for compatible RGBW fixtures.

Video 08

Create Time-Based Scenes

Program lighting behavior that changes automatically according to the selected time conditions.

Installer Tips

Small setup decisions make a big difference.

Hide Full Screen Sliders

Enable this setting after downloading the app. It makes the Luminaires tab easier to use and reduces accidental brightness or color adjustments.

App Settings Hide Full Screen Sliders Enable

Use Two Admin Passwords

Create one administrator password for the installer or service team and another for the homeowner. Record both securely.

Name Sconces Left to Right

Use U1/D1 for the left sconce, U2/D2 for the next sconce, and continue across the project. U means upper output and D means downward output.

Identify Before Renaming

Use the Identify Device function one luminaire at a time so you do not accidentally assign a name to the wrong fixture.

Build Groups Before Scenes

Organizing the project first creates a cleaner foundation for scenes, schedules, animations, and future changes.

Set Startup to Last State

After all fixtures are added, use Configure All Luminaires and set Startup to Last State. The fixtures will resume their previous look after power is restored.

Plan for 200 ft Line of Sight

Use 200 ft as a conservative planning distance in open line-of-sight conditions. Metal, masonry, Low-E glass, walls, and landscaping can reduce practical range.

Test Scenes After Sunset

Color, intensity, and contrast look very different at night. Final scene approval should happen under real operating conditions.

Use a Mobile Device as a Gateway

A spare phone or tablet can provide remote access when it stays powered, connected to the internet, and within Bluetooth range of the Casambi network. For permanent installations, a dedicated Casambi Cloud Gateway is preferred.

Document the Finished Network

Save the network name, admin access, gateway details, luminaire names, groups, scenes, schedules, and final screenshots.

Advanced Features

Optional tools for remote access and visual control.

These features are not required for normal local Bluetooth control, but they can make the finished system easier to access, demonstrate, and manage.

REMOTE ACCESS

Use a phone or tablet as a gateway

A spare phone or tablet can provide remote access through the Casambi cloud. Keep the device powered, connected to the internet, and within reliable Bluetooth range of the lighting network.

More Gateways Internet Gateway This Device
  • Use a phone or tablet that can remain at the property.
  • Connect it to continuous power.
  • Keep Wi-Fi or cellular internet and Bluetooth enabled.
  • Place it where it has a reliable connection to the Casambi network.
  • Enable the device as the Internet Gateway in the Casambi app.
  • Test remote control from a second device outside Bluetooth range.
Permanent installations A dedicated Casambi Cloud Gateway is the better choice when dependable, long-term remote access is required.
VISUAL CONTROL

Use the Gallery tab for outdoor projects

The Gallery tab lets the homeowner control fixtures from a photograph, panorama, rendering, or property plan. Place each control point over the fixture—or over the tree, wall, path, or architectural feature it illuminates.

Gallery Add Photo Tap + Select Luminaire Position Control Done
  • Use a nighttime project photo to show the finished lighting layout.
  • Use a daytime photo when fixtures are easier to identify.
  • Use a property plan for large estates or multi-area projects.
  • Place controls over trees, palms, paths, walls, sconces, and water features.
  • Create separate gallery images for the front yard, backyard, pool, or patio.
Outdoor lighting example A homeowner can tap the left royal palm in the project photo instead of trying to remember which fixture name controls it.
Advanced Feature Video

Using the Casambi Gallery Tab

Learn how to add a project image and place visual controls over the luminaires or illuminated features.

Client Handoff

Do not leave until the homeowner can use it.

A polished handoff protects the installer, the homeowner, and the long-term serviceability of the project.

  • Confirm the homeowner has the Casambi app installed.
  • Confirm the correct network is visible and accessible.
  • Demonstrate groups, scenes, dimming, and color control.
  • Explain local Bluetooth control versus remote gateway access.
  • Confirm schedules activate the intended scenes.
  • Confirm all luminaires are set to Startup: Last State.
  • Explain that Last State restores the previous look after power returns.
  • Explain who has administrator access.
  • Store the network passwords and project information.
  • Take final screenshots of groups, scenes, and schedules.
Downloads

Keep the reference material nearby.

PDF

Casambi App User Manual

Complete Casambi app reference for networks, luminaires, scenes, schedules, sharing, and system management.

Frequently Asked Questions

Common Casambi installation questions.

No. Local control uses Bluetooth communication between the phone or tablet and the Casambi network. Internet access is required for cloud-connected features and remote access through a compatible gateway.

Use Password Protected sharing. Create separate administrator passwords for the installer or service team and the homeowner, then record both securely.

Open the newly created network, go to Settings, select Nearby Devices, tap one luminaire at a time, choose Identify Device, confirm the correct fixture responds, and then assign a descriptive location-based name.

It makes the Luminaires tab easier to navigate and helps prevent accidental brightness, color, or color-temperature changes while selecting fixtures.

Use a saved scene when a Casambi schedule needs to turn the lights on to a specific, repeatable look. If power is being switched off by a timer, photocell, smart plug, or similar device, go to Settings, Network Settings, Configure All Luminaires, Startup, and select Last State. When power returns, the fixtures will resume the last color, scene, or animation they were using.

On Garden Light LED fixtures equipped with independently addressable up and down Casambi modules, each output can be identified, named, grouped, and controlled separately.

Yes. A spare phone or tablet can provide remote access when it stays powered, connected to the internet, and within Bluetooth range of the Casambi network. In the app, go to More, Gateways, Internet Gateway, and select This Device. Test the connection from another phone outside Bluetooth range. For permanent remote access, use a dedicated Casambi Cloud Gateway.

The Gallery tab lets you place fixture controls on a project photo, panorama, rendering, or property plan. For outdoor projects, place controls over the fixture or the tree, path, wall, sconce, or other feature it illuminates. This gives the homeowner a simple visual way to control the system.

For planning, use a conservative range of up to approximately 200 ft line of sight between compatible fixtures. Keep fixtures closer when possible. Metal, masonry, Low-E glass, walls, equipment rooms, and dense landscaping can reduce practical Bluetooth range.

Check fixture power, device spacing, metal obstructions, masonry, Low-E glass, antenna orientation, nearby mesh nodes, and the actual location from which the homeowner is trying to control the network.

No. First verify power, pairing status, app visibility, communication range, and the affected fixture. Resetting the full network can create unnecessary recommissioning work.

Garden Light LED Technical Support

Still need help with a Casambi installation?

Before contacting support, have the project name, network name, fixture count, app version, phone model, screenshots, and a brief description of the issue ready.